These are general guidelines for starting Most GAS powered pressure washers engines in our rental line.
Step 1
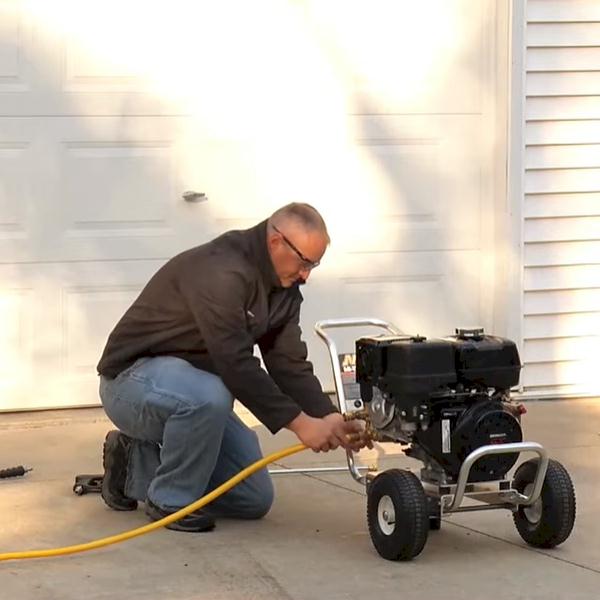 |
Attach your garden hose to inlet side of pressure washer |
Step 2
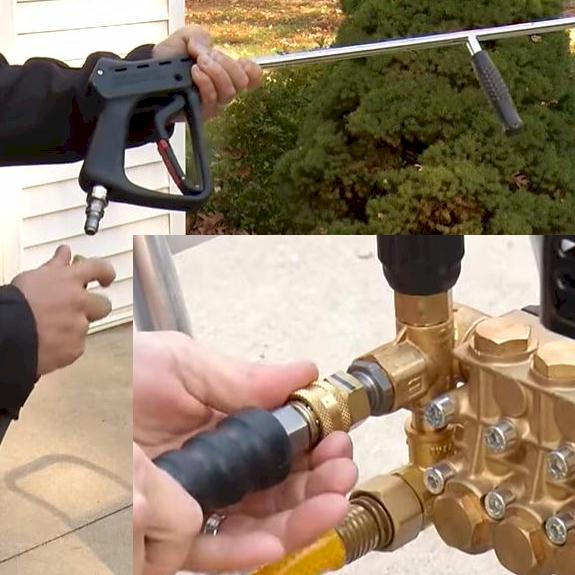 |
Attach pressure hose to high pressure outlet and wand
Both of these fittings are a regular Quick Disconnect type fitting. All you have to do is pull the collar back and push the 2 sides together |
Step 3
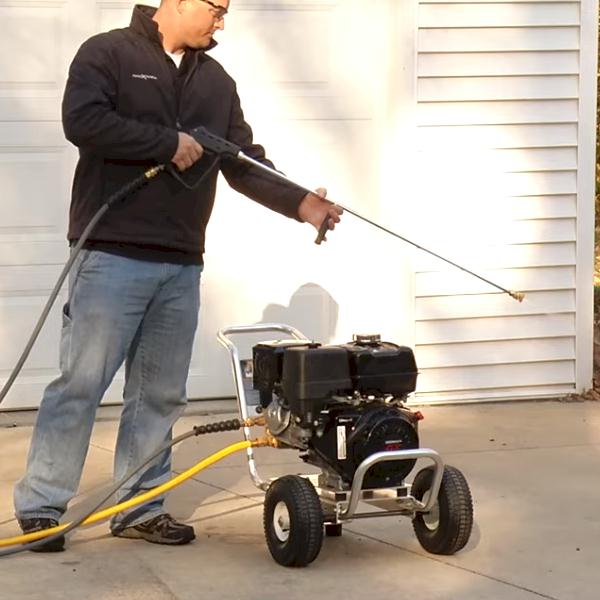 |
Squeeze trigger and flush air out of lines
This normally takes 1-1.5 minutes to accomplish depending on length garden hose supplying the water. This step goes much faster without a tip on the end of the wand. |
Step 4
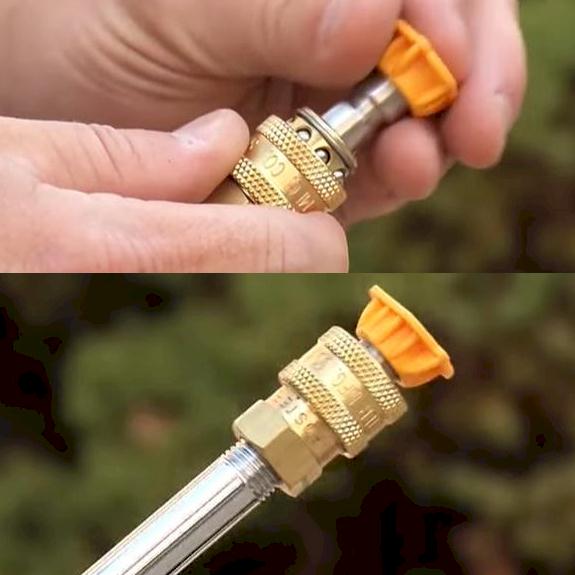 |
Select desired tip and put it on wand.
Again this is a standard quick disconnect style fitting. It is important that you make sure that tips are properly seated all the way and that the collar is fully snapped back into place or the tips can be shot off of the end of the wand. Potentially doing damage to whatever is at the other end of its trajectory, and also leaving you responsible for the cost of a replacement tip. |
Step 5
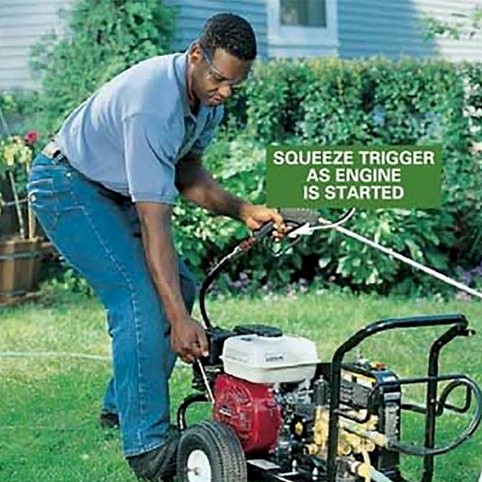 |
Start machine while holding trigger
Finally its time to start the unit. One key thing to remember when starting these units is to keep your hand squeezed on the wand trigger AND pointed in a safe directing when pulling the unit over during the starting process. This allows the user to be able to pull the engine over fast enough for it to start, while not fighting pressure build up in the process. Most pressure washers are very hard to almost imposable to start if you are not allowing this pressure release. See our Small Engine Starting Guide for Engine starting procedures and tips |
Other Helpful Hints
When Operating Pressure washers
Read these
 |
Keep hand on trigger when unit is running You don’t want to let you hand off the trigger for more than 10-15 seconds when the units are running. Basically if your doing something much more than changing tips, shut it down and restart when your ready to go. You don’t want to let the pressure and heat build and cycle. |
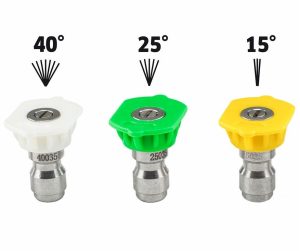 |
Multiple Tips and What they mean
Ok just being a little cheeky there but each color denotes a different spray pattern. White is your weakest at 40°, Green is 25°, and Yellow is your strongest at a 15° wide stray Take EXTREME caution if trying to change tips while unit is running to make sure that the wand trigger is not accidently hit mid change or injury is likely to occur. |
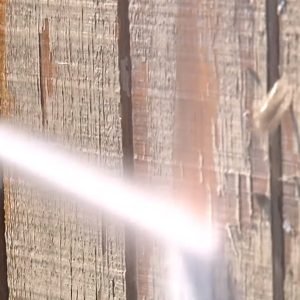 |
Its A LOT easier to get more aggressive than less
Start a little ways back from what your cleaning, with a weaker tip. Work your way closer in, then up in tip strength. This will give you a good feel for both the the power of the unit your using and the strength of the surface you are cleaning, and is a good way to prevent doing damage to |
 |
NO Syphon, NO problem None of our pressure washers come with syphons attachments, the main reason is simple. They don’t work. Built in pressure washer syphons over or under dilute most cleaning chemicals, and they rinse everything off as fast and they put it on. SOLUTION (pardon the pun)– Use a pump bug sprayer in between passes. By washing the area down with the pressure washer first you are going to get any of the loose dirt and debris off of the surface. Then go around and apply your solution. Finally go back around and with a quick pass rinse everything back off. This does 3 things. First it gives whatever product you are using the ability to get right to the problem, instead of applying it on top of stuff that doesn’t need it. Next allows what that product time to sit on the surface of what your cleaning, instead of being immediately rinsed away again. Lastly you loose much less product. By being able to get proper dilution ratios, applying it to only the needed areas and giving it time to do its job, you can generally use only a small portion of what you otherwise would have. |
 |
Quick (disconnect) Advice
When attaching and detaching quick disconnect types of fitting there are a few things to keep in mind |
 |
Engine starting or running problem? Check out our Small Engine Starting Guide for how to start and great troubleshooting advice |
Be aware that this page for use as helpful suggestions in case of problem and is not intended to replace any safety or operating instructions in manuals or given verbally at the time of rental